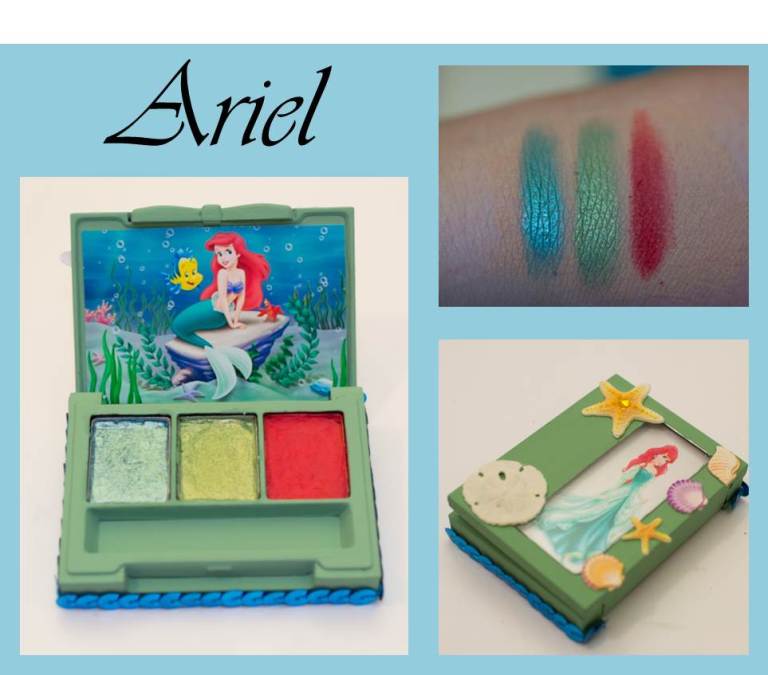
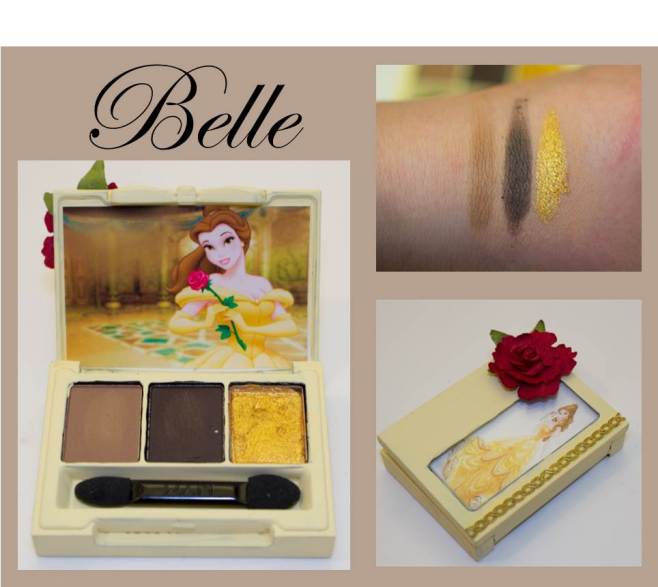
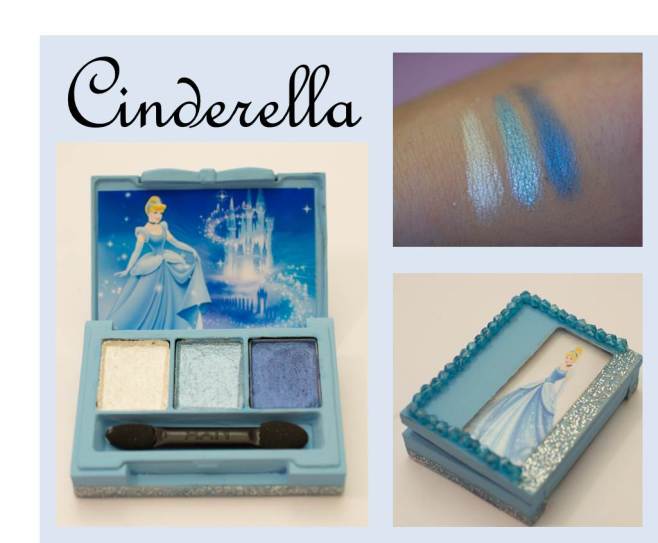
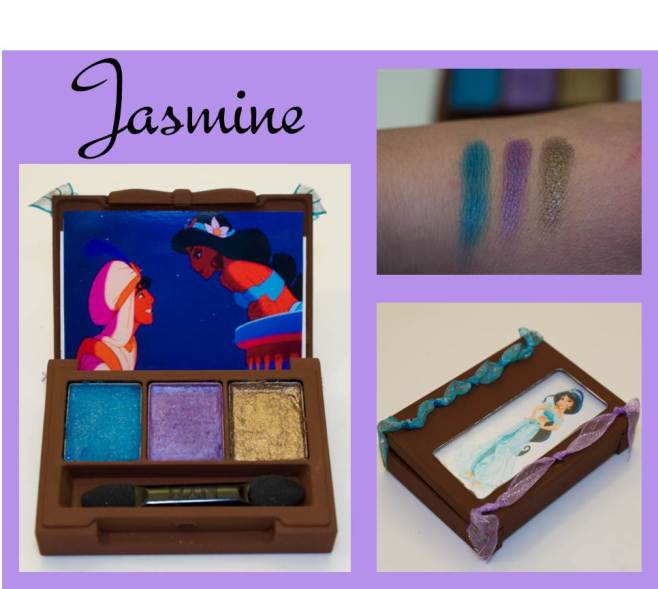
Disney Eyeshadow Palettes


Tutorial
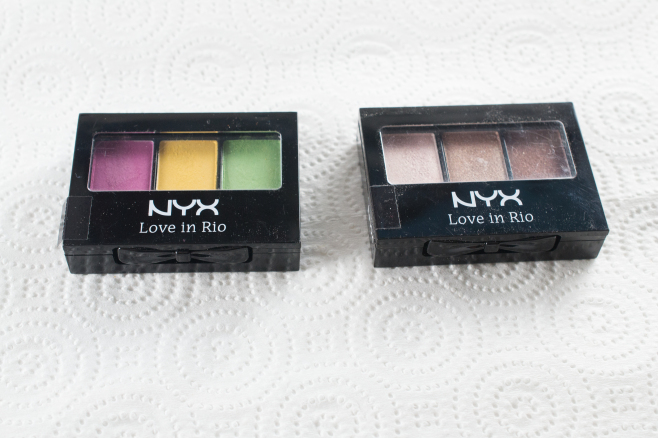
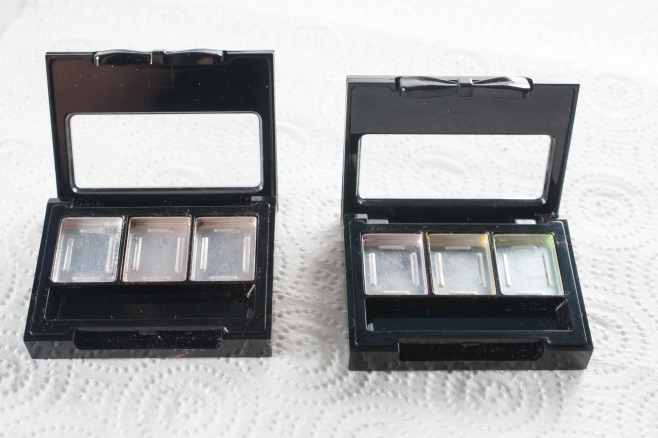
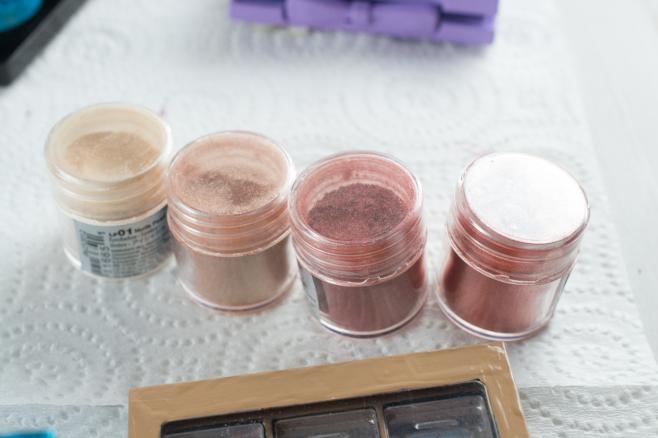
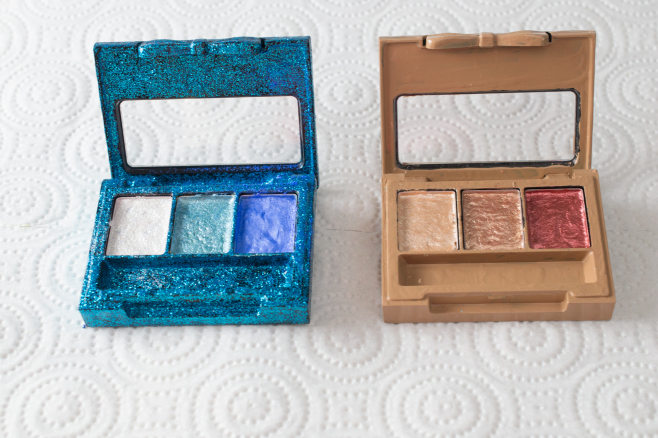
Start with some cheap palettes of the size you want. I used these NYX rio trios because they were nice and small, but you could use pretty much anything you want. If you are planning to put new colors in, scrape out the pans with a toothpick. You can save the powder to re-press into another pan if you want.
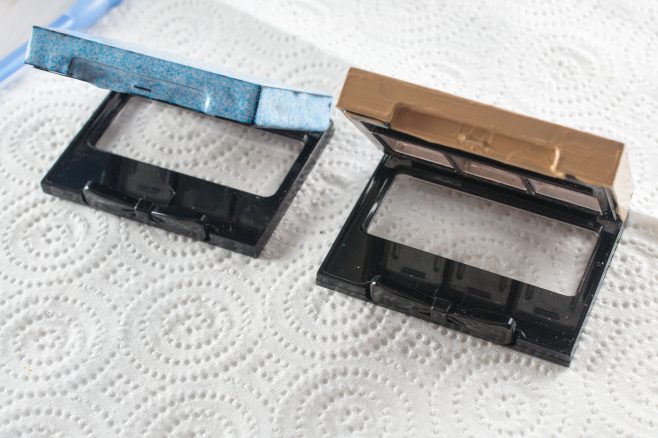
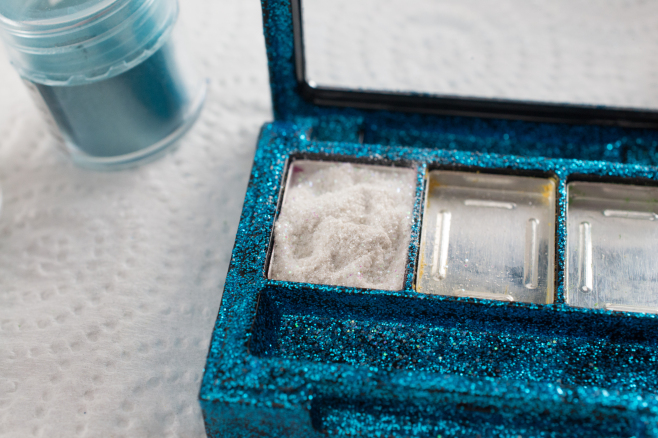
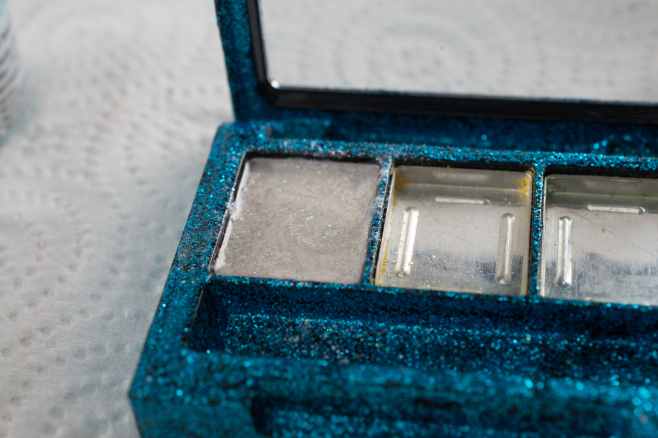
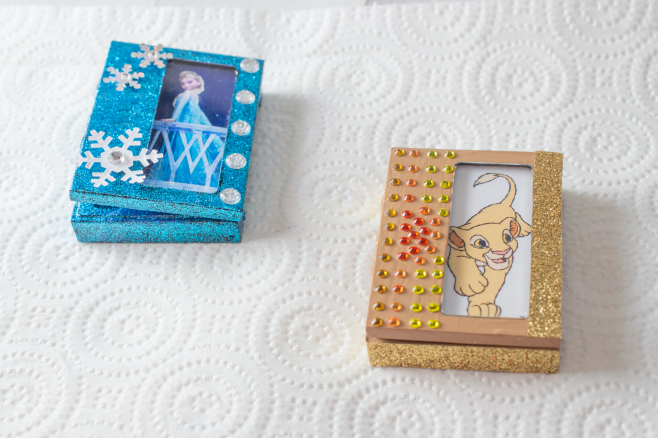
Paint the case. I use just basic acrylic paint that is cheap to get at a craft store. You may need to paint a few coats on the box to get an even color. You can also modge podge the case to make it glossier or provide extra protection.

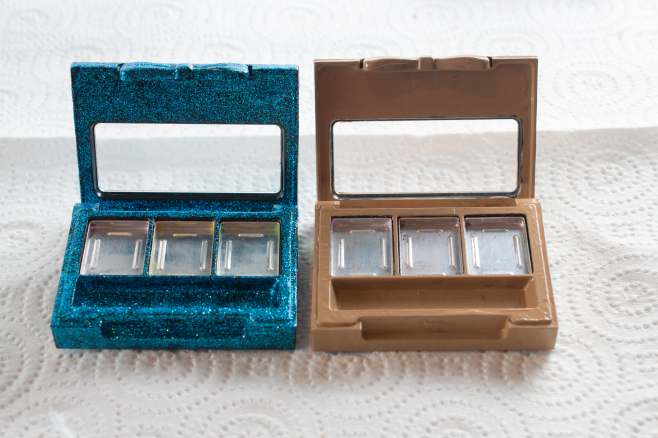
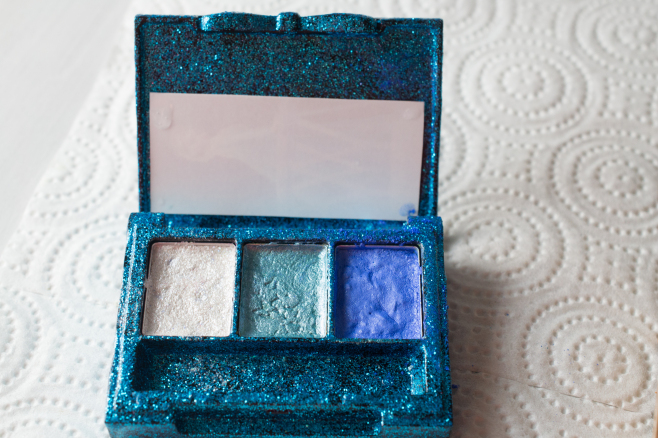
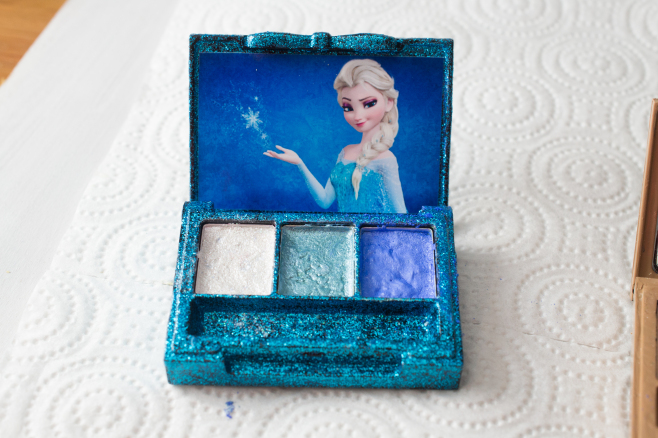
Press the pigments. You can use loose or already pressed pigments. If you use loose pigments, fill the pan, then mix with a few drops of glycerin and with enough alcohol to stir completely and even out. If you are using already pressed pigments, you won’t need to add the glycerin because there are already binding agents in the powder. Scrape enough powder in to fill the new pan and add enough alcohol to stir and level out.

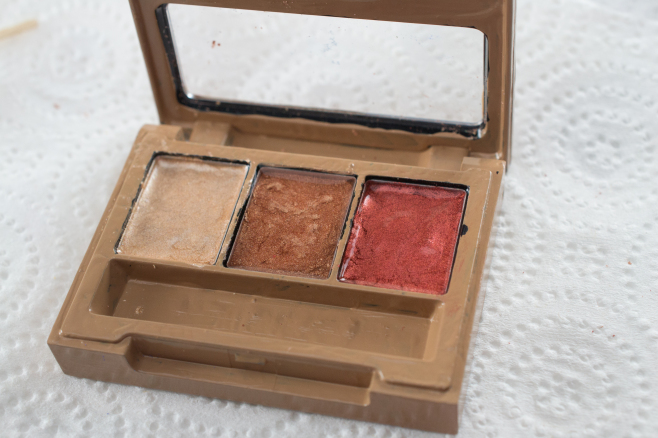
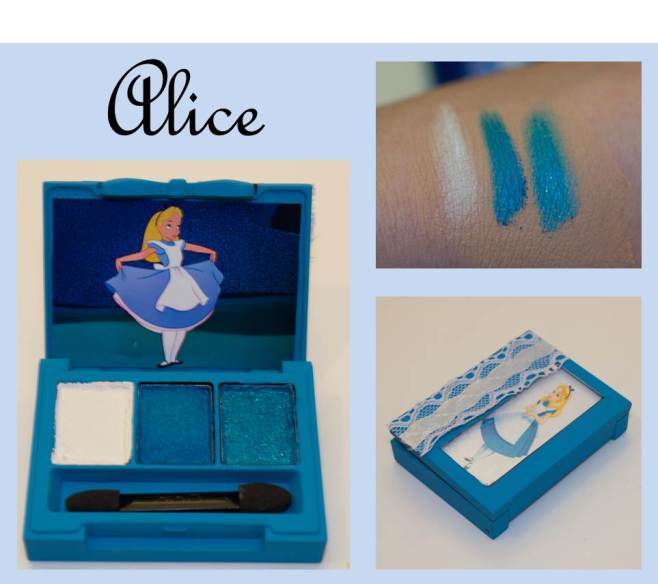
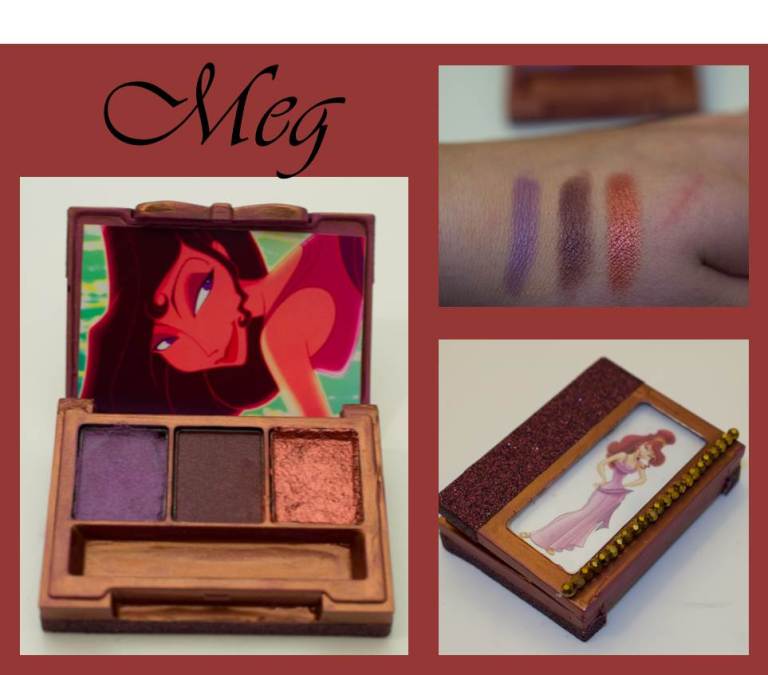
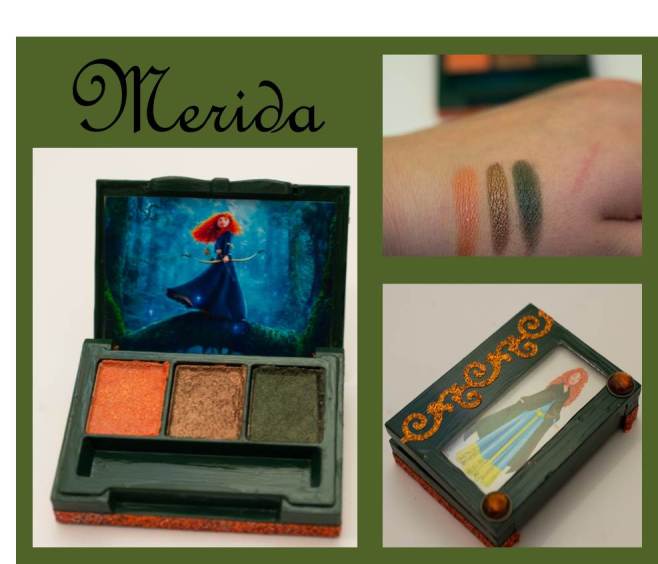
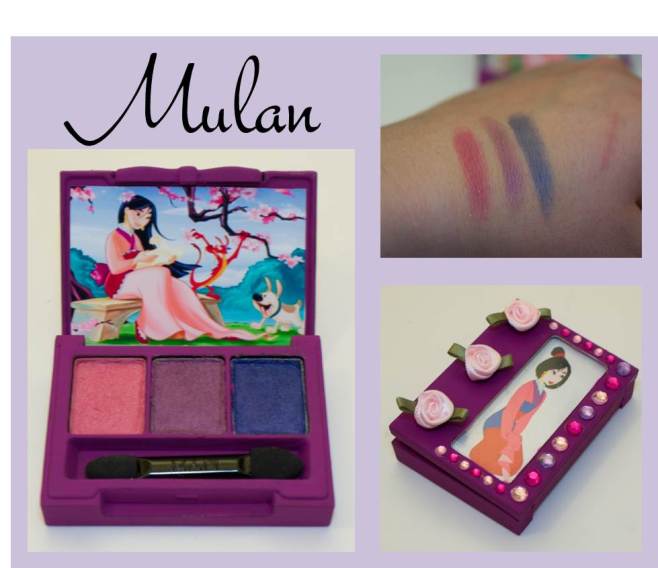
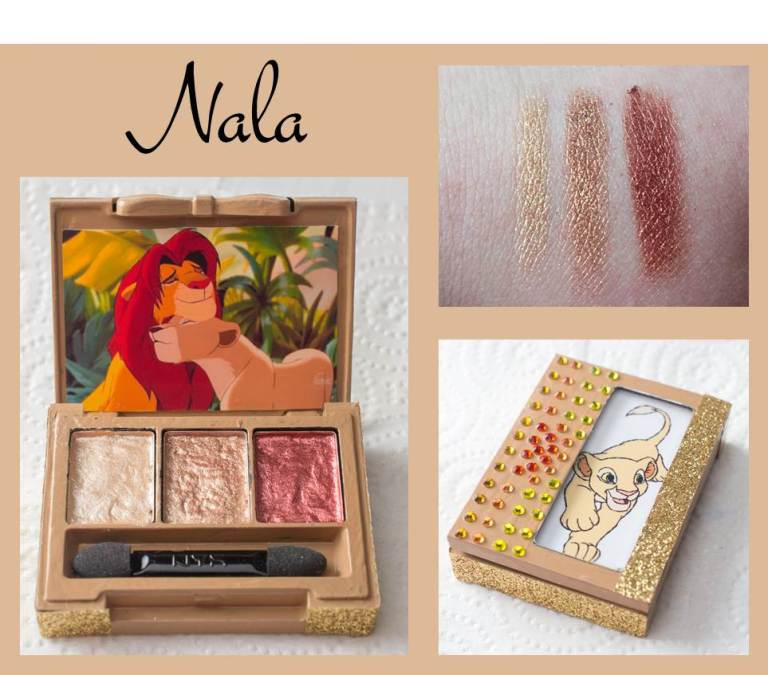
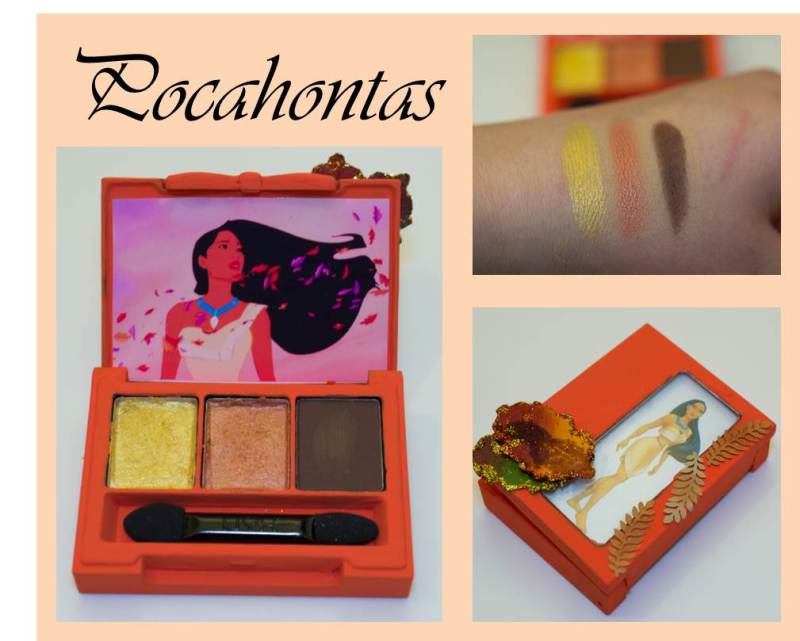
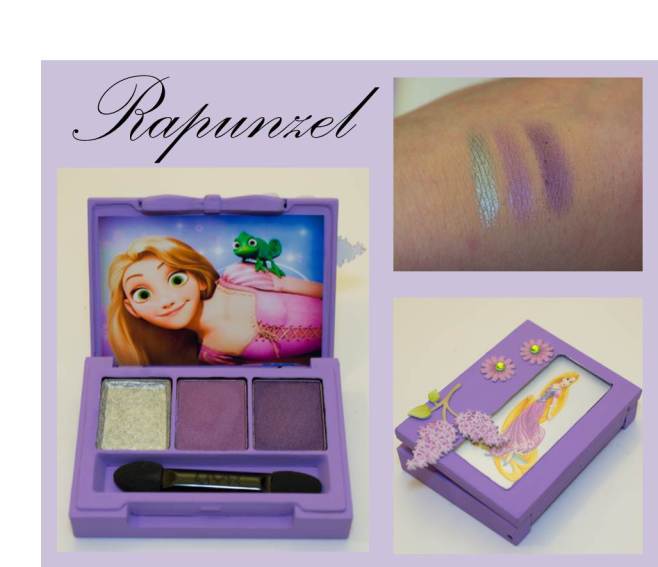
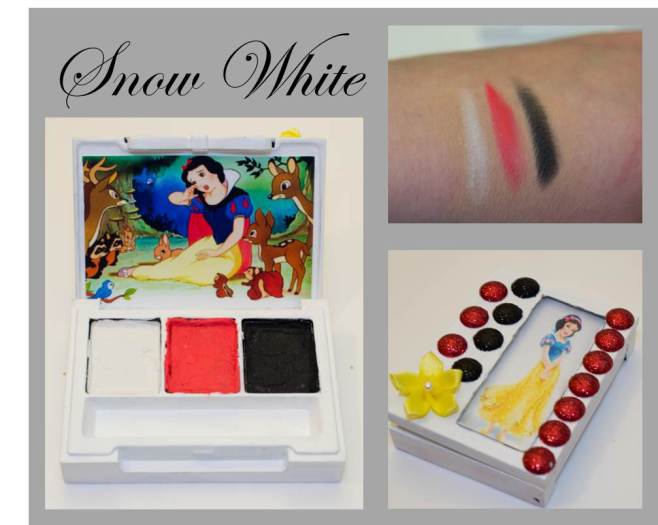
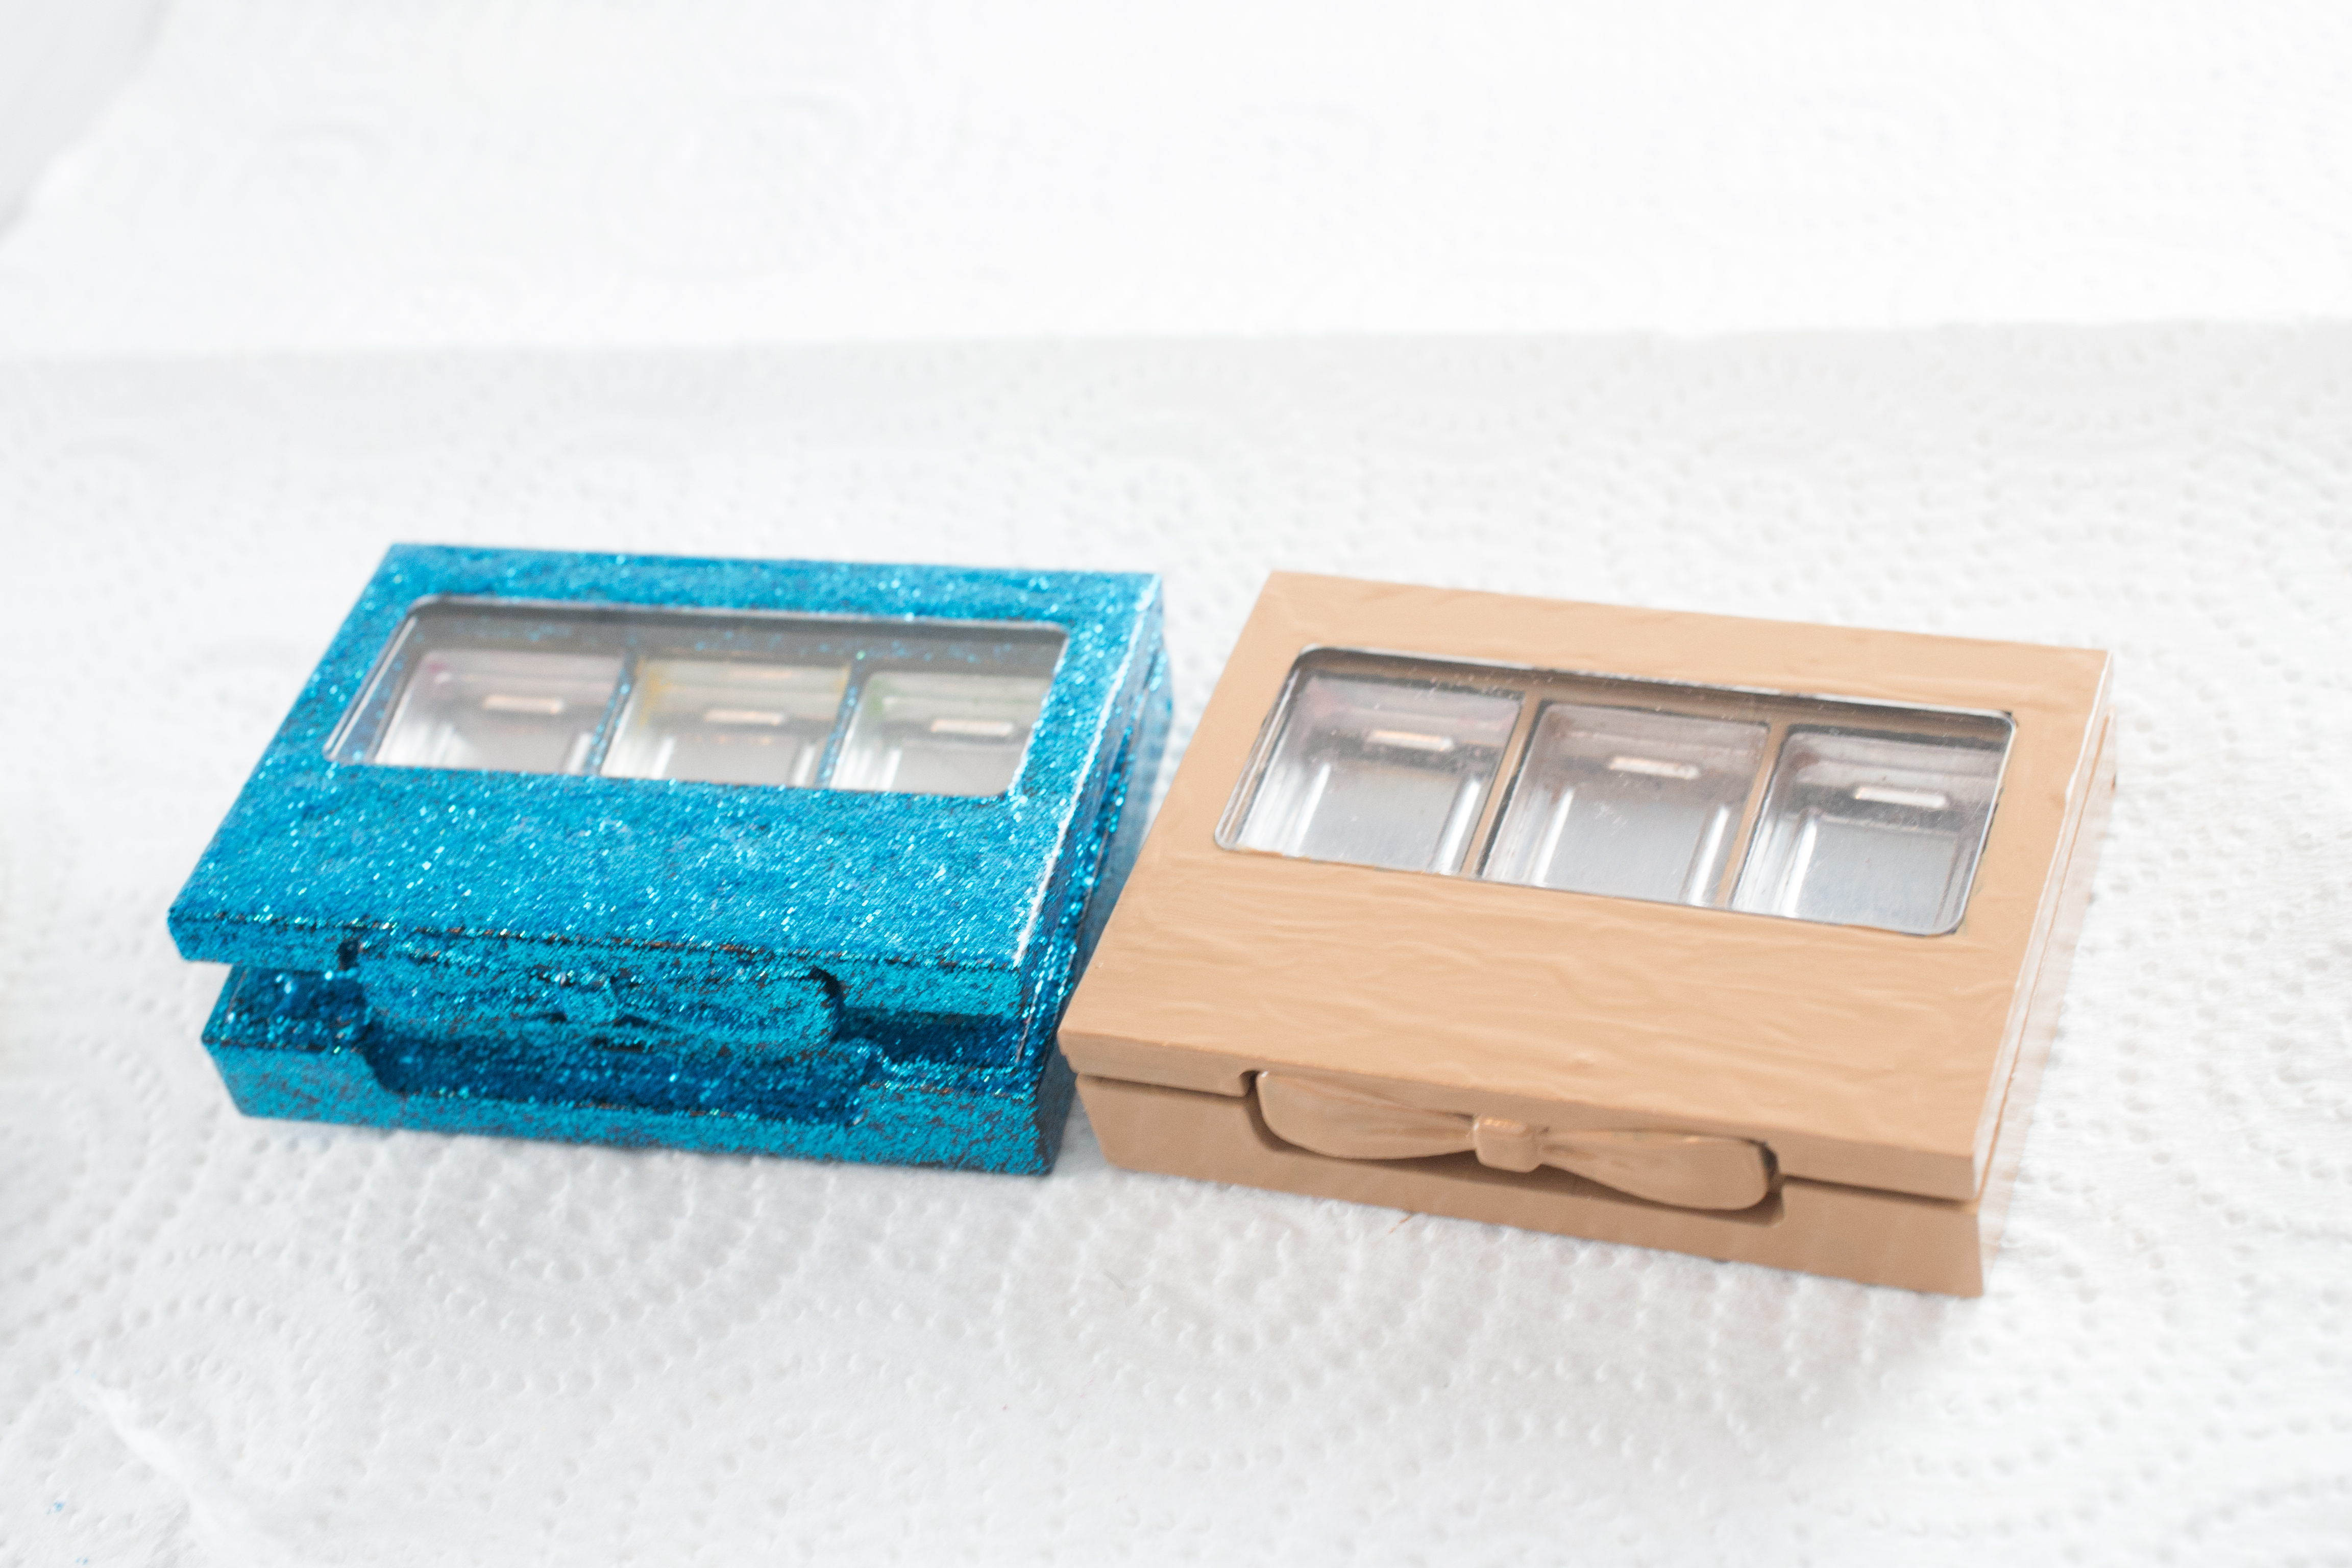
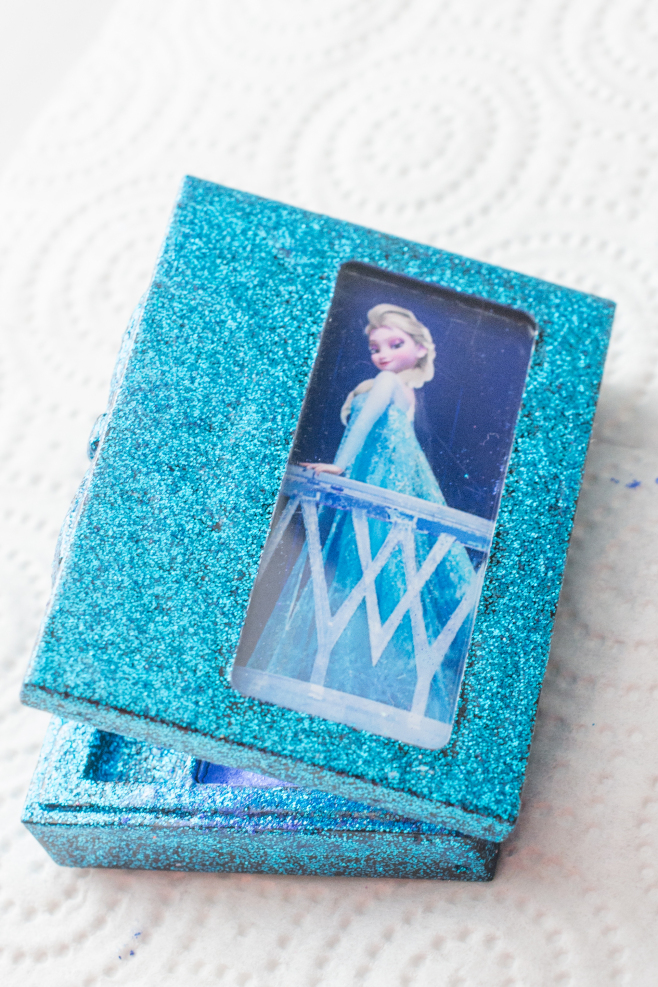
Once the eyeshadow has dried, attach photos to the box. You can find images online and size them appropriately for your printer in something like powerpoint. I printed mine on my home printer on photo paper and cut the pieces out to the right size. I do one skinnier photo to show through on the front, which I attach first to the inside of the lid with superglue. I then attach the inside photo on top of that one.
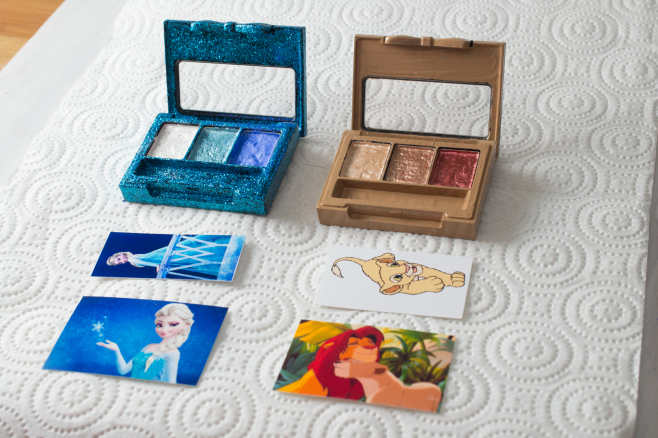
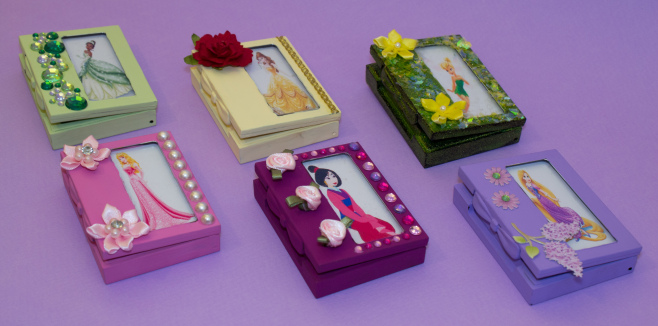
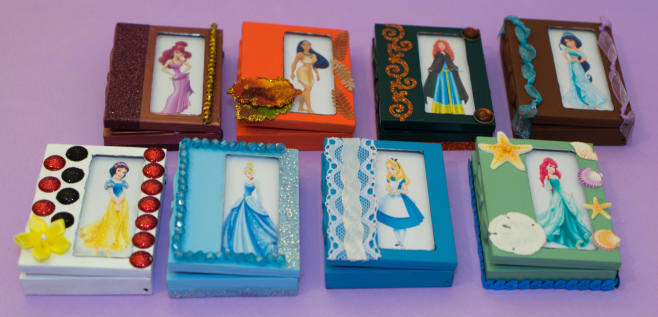
Use superglue to attach decorations as desired. I’ve used little jewels or scrapbook decorations or ribbon or glitter for the decorations on these boxes.
About the project
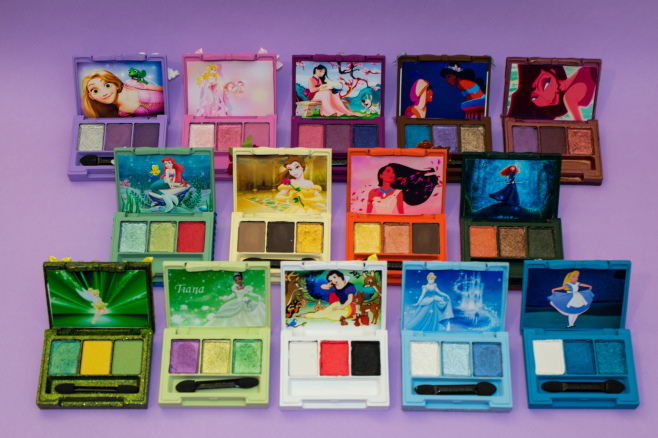
Custom painted and decorated eyeshadow palettes
Project details:
I made a bunch of these a few years ago for fun when I had some loose glittery eyeshadows (NYX pearl powder) that I wanted to press and make them easier to use. This was a fun craft! There's a little bit of a tutorial in the photo captions